preface
Because of my parents’ foreign trade about plastic injecting mould, in the summer vacation of my freshman semester, I set up the router in the office, where my parents work. With the need of sharing only one KIS-Server, I decide to set up the virtual network between factory and office. Here is the record of my over turning openwrt. I use ImmortalWrt btw, which 更适合东大宝宝的体质.
netstat
netstat -antpu 是一个用于显示网络连接信息的命令,其中各个参数的含义如下:
- a (all) —— 显示所有的套接字(包括监听中的和非监听的)。
- n (numeric) —— 以数字格式显示地址和端口号,而不是尝试解析域名。
- t (tcp) —— 仅显示 TCP 连接的信息。
- p (program) —— 显示使用每个连接的进程(需要 root 权限)。
- u (udp) —— 仅显示 UDP 连接的信息。
samba
日志文件存储在这 /var/log/samba/.
光猫桥接
- 获取 telecomadmin 密码
- 光 🐱 改成桥接, 不一定绑定完所有的网口, 不一定需要关闭光猫的 DHCP
天翼网关 pt926g
网友给出了两种方式
两种方式, 都是为了获取 /var/config/lastgood.xml 这个文件. 第二个属于是 web 漏洞了 😁
光猫桥接
顶部导航栏: 网络 > 宽带设置
WAN 配置, 选中 连接名称 的 3_INTERNET_B_VID_4, 只需将 模式 改成 Bridge(桥接) 即可, 其他似乎可以不用动.

看一些教程说: 要把所有的端口绑定上. 但是我没绑定也能用, 这个看自己的需求吧, 看主路由连着那个网口, 那么就要绑定哪个, 应该是(以我浅薄的理解).
看一些教程说: 要关闭光猫的 DHCP. 但是不一定,
主路由 pppoe
ImmortalWrt 导航栏: Network > Interfaces.
点击 wan 的 edit, 在 General Settings 中填写信息.
注意: 这个 username/password 是从运营商处获取的, 打个电话给 电信/移动/网通 ?
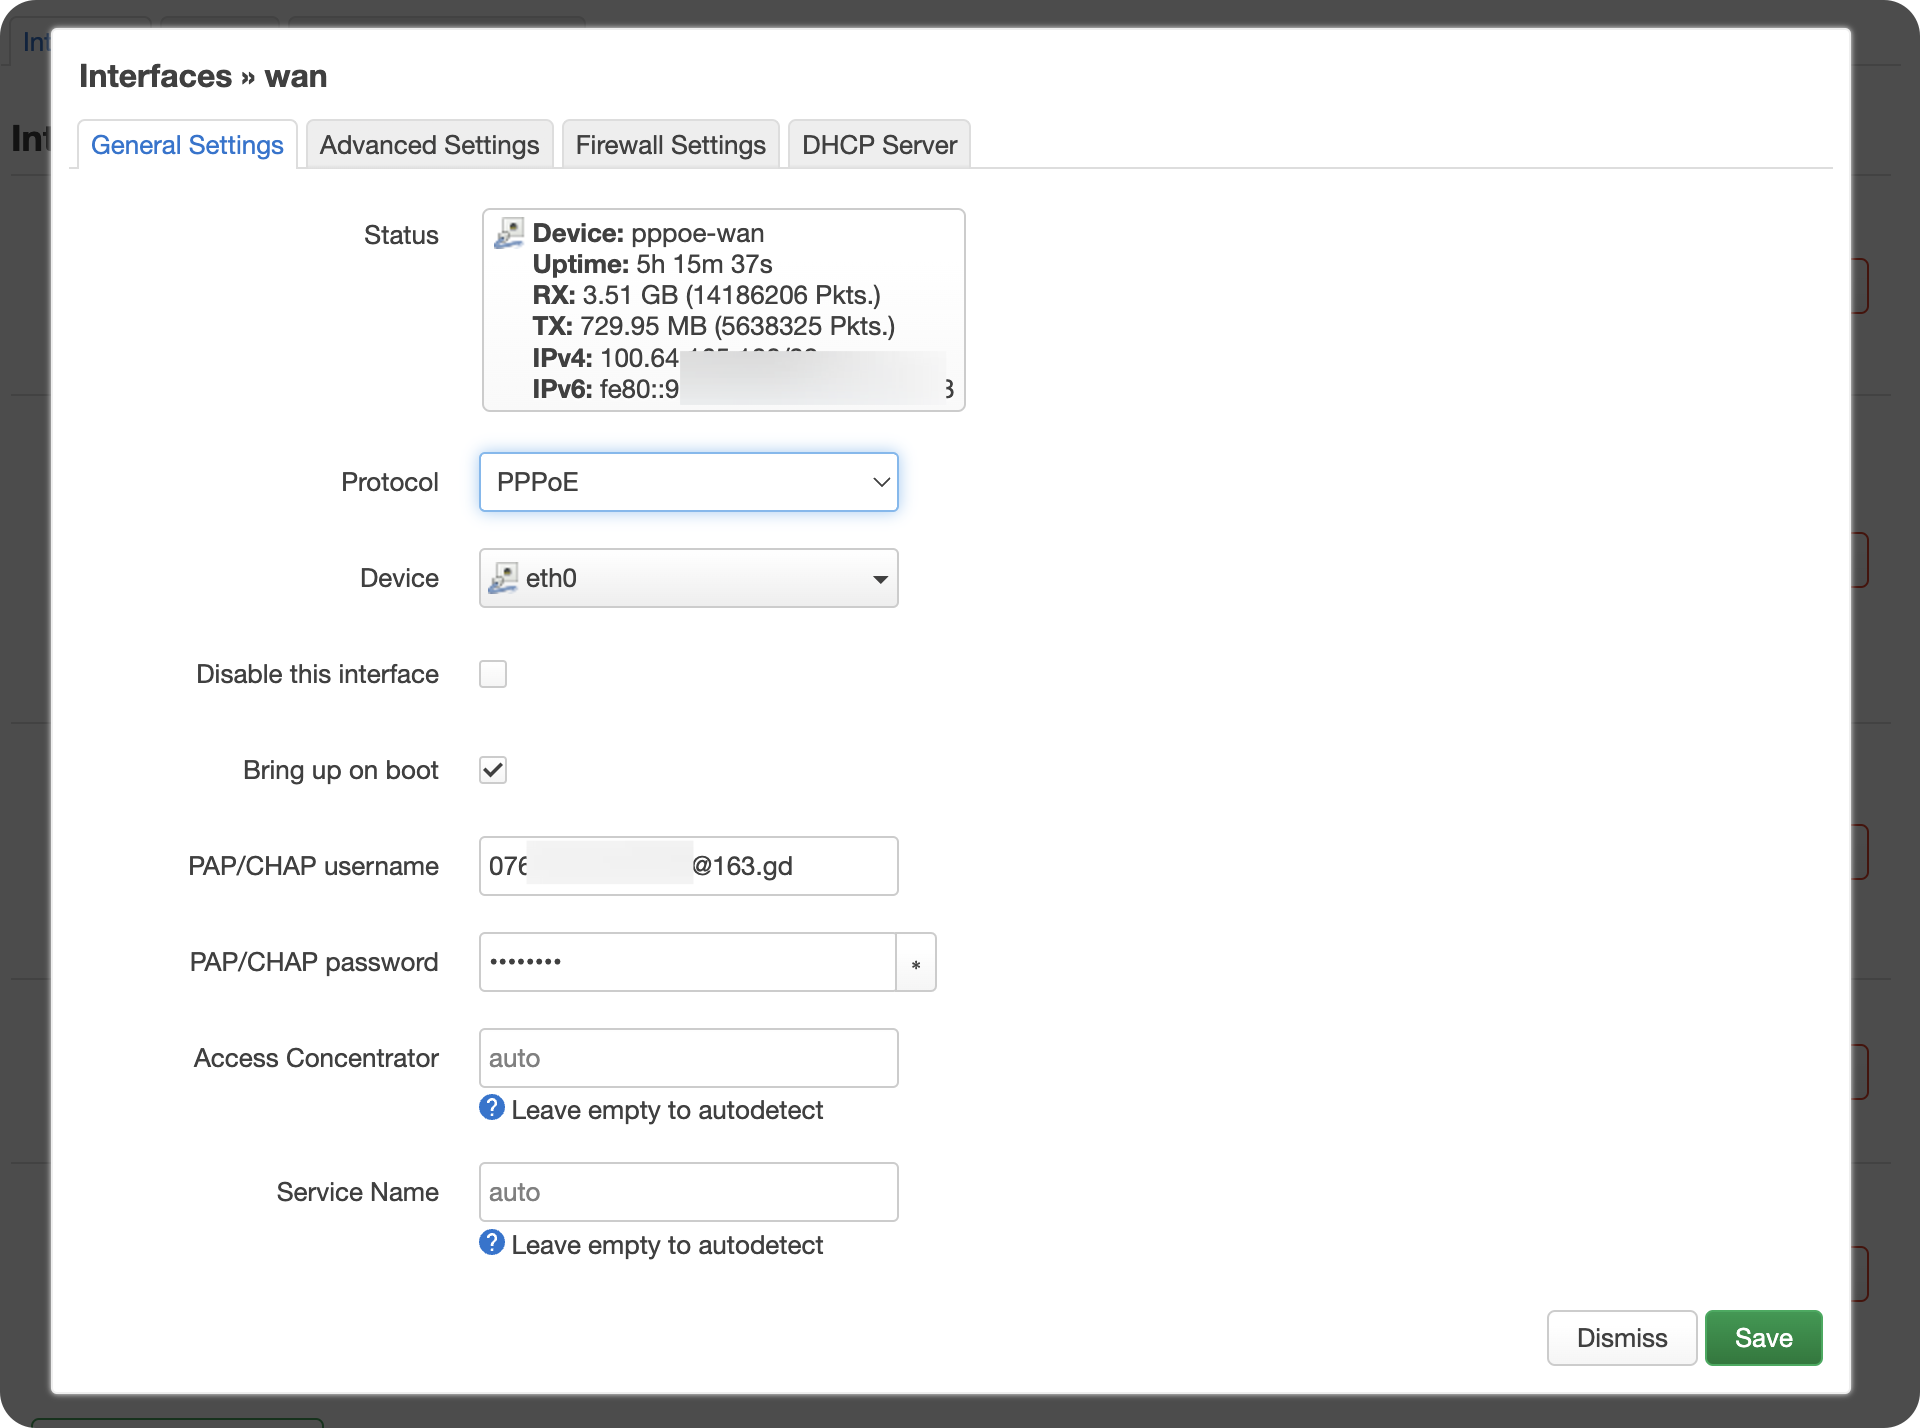
值得注意的一点: 当 wan-口 是 pppoe 的时候, 是没法访问光猫的,
原因是: pppoe 的时候, 光猫-主路由 两端无 ipv4 地址,
只有当有了 ipv4 地址的时候, 才能通过 http://192.168.1.1 访问光猫管理界面.
同理: 如果光猫关闭了 DHCP, 主路由设置的是 DHCP client 时,
因为没有给主路由的一端分配 ipv4 地址,
因此这个时候需要在 protocal 中选中 Static address,
并手动设置 192.168.1.1/24 中的 ipv4 地址,
才可访问到 http://192.168.1.1.
这也是我没明白: 多数教程中说: 关闭光猫 DHCP 的意义何在 ?
ImmortalWrt
硬件选择
我的硬件是: 倍控 G48 J4125. 我选择 x86 架构的, 而不是 aarch64, 或者 arm 啥的, 正如软路由圈中所说的: Generic x86, yes. 懒得去找各种源.
请注意: 我就是为了配置软路由而买的硬件. 并非是垃圾佬, 目的明确: 异地组网.
Download ImmortalWrt
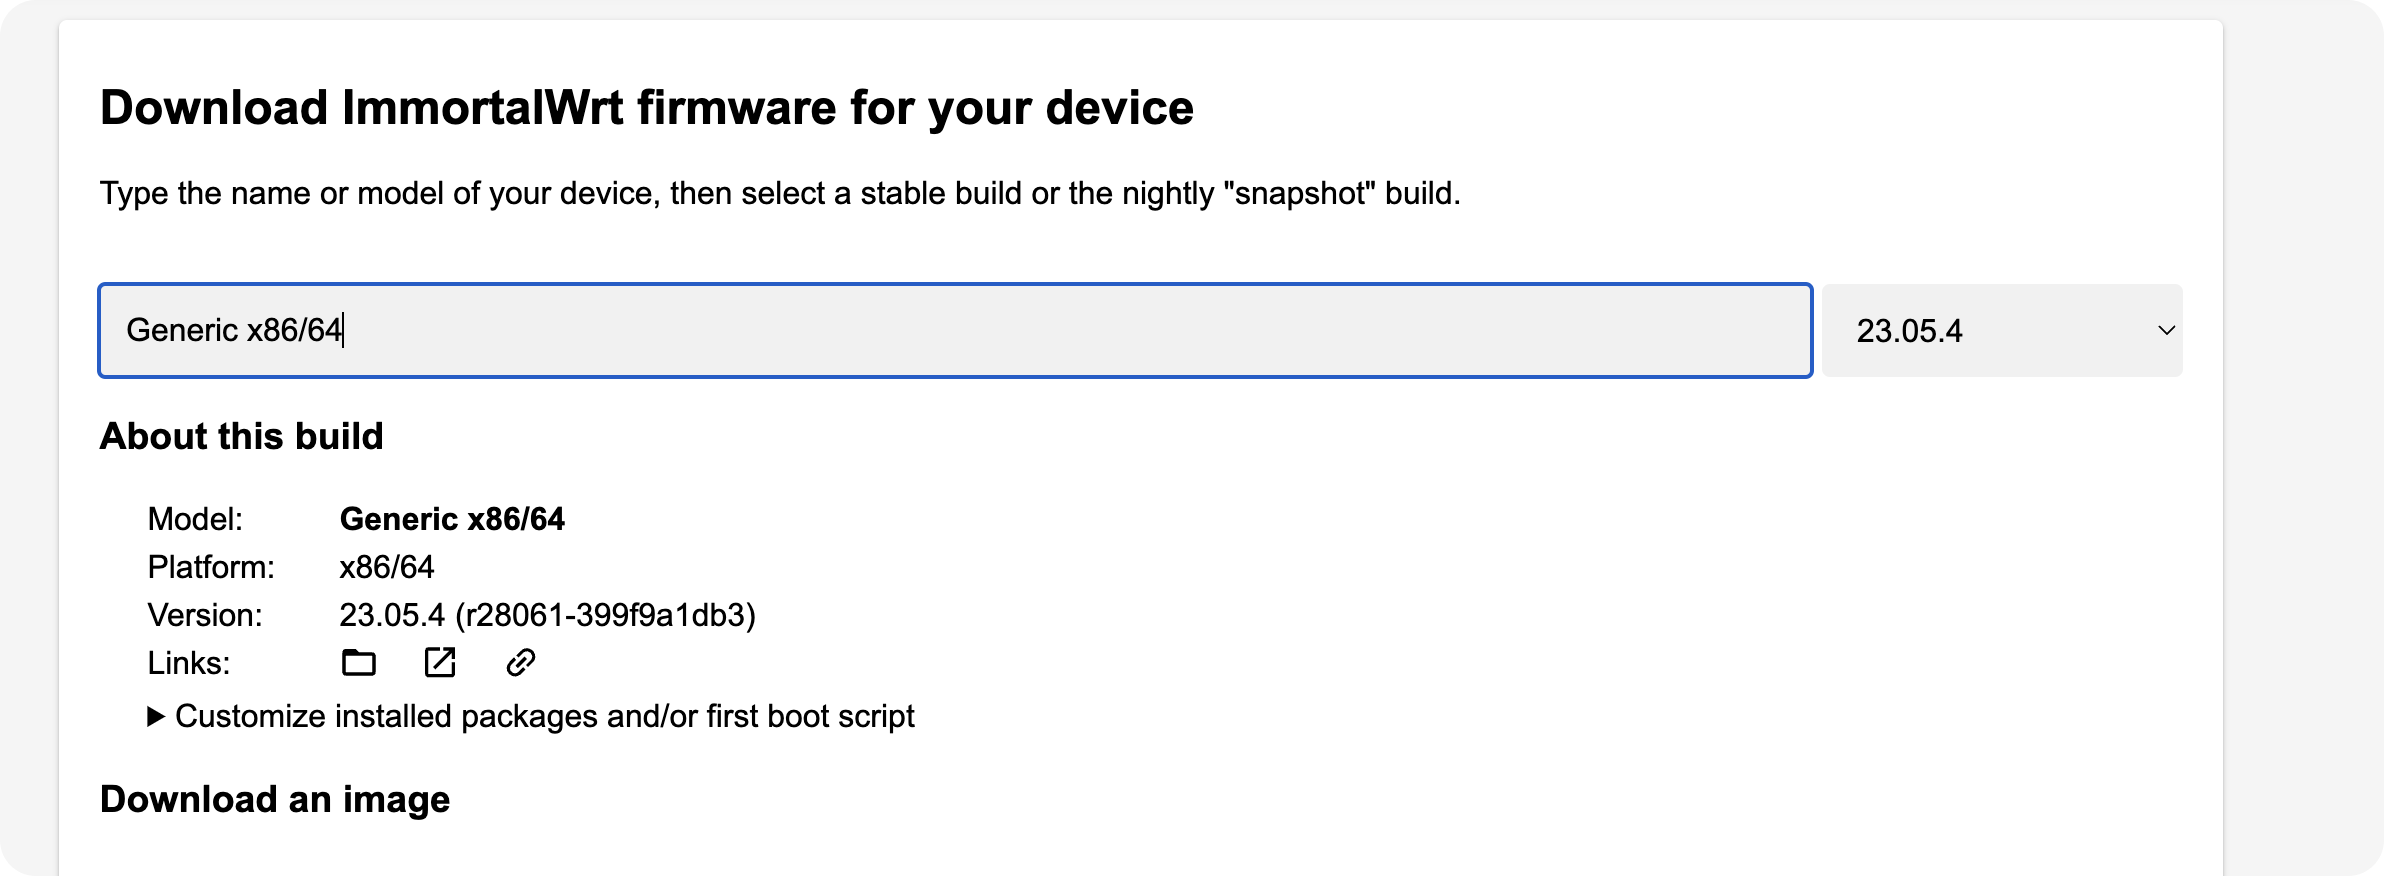
我的选择:
- Generic x86/64. 因为的硬件是 x86 架构的, 并且 64bit 是现在最常见的.
- 不使用 efi, 是为了方便, 懒得在 resize sda2 后配置 grub 啥的.
- 使用 ext4, 纯粹是因为我更熟悉; 并且 SQUASHFS 在扩容的时候会遇到 问题
Installation
我用了两个 u 盘:
一个 ventoy, 里面装着 archiso, 因为真的超好用;
一个里面装着上面选择下载的 immortalwrt-23.05.4-x86-64-generic-ext4-combined-efi.img.gz
进入 archiso.
|
|
软路由扩容 ext4 + non-efi
我看了这个 教程. 虽然我算是熟 linux, 但我之前没试过任何扩容.
如果和我一样: immortalwrt + ext4 + non-efi.
通过 cfdisk 修改 /dev/sda2 的大小.
|
|
注意, 这三个软件是需要安装的
|
|
ipv6 + ddns + cloudflare
主路由 pppoe, 是为了方便操作 公网 ipv6, 不希望: 主路由藏在一个拨号的路由器之后. 以免: 因为拨号路由器的某些设置, 导致外界无法访问到这个 主路由的 ipv6.
选择 cloudflare 是因为: There is no need to record for censorship, 喜欢阿美莉卡 🤗 .
install ddns-scripts-cloudflare
ImmortalWrt 导航栏: System > Software.
先 Update lists, 再在 Filter 中输入 ddns, 在 luci-app-ddns 一行中 Install.
同理, 安装 ddns-scripts-cloudflare.
一个选择 ImmortalWrt 的原因: 包比较多, 并且可以东大内直连下载.
get a token
Firstly, get a token from cloudflare about your domain.
Get your API token

Create Token

Edit zone DNS > Use template

Zone Resource > <your_domain> > Continue to summary

Create Token

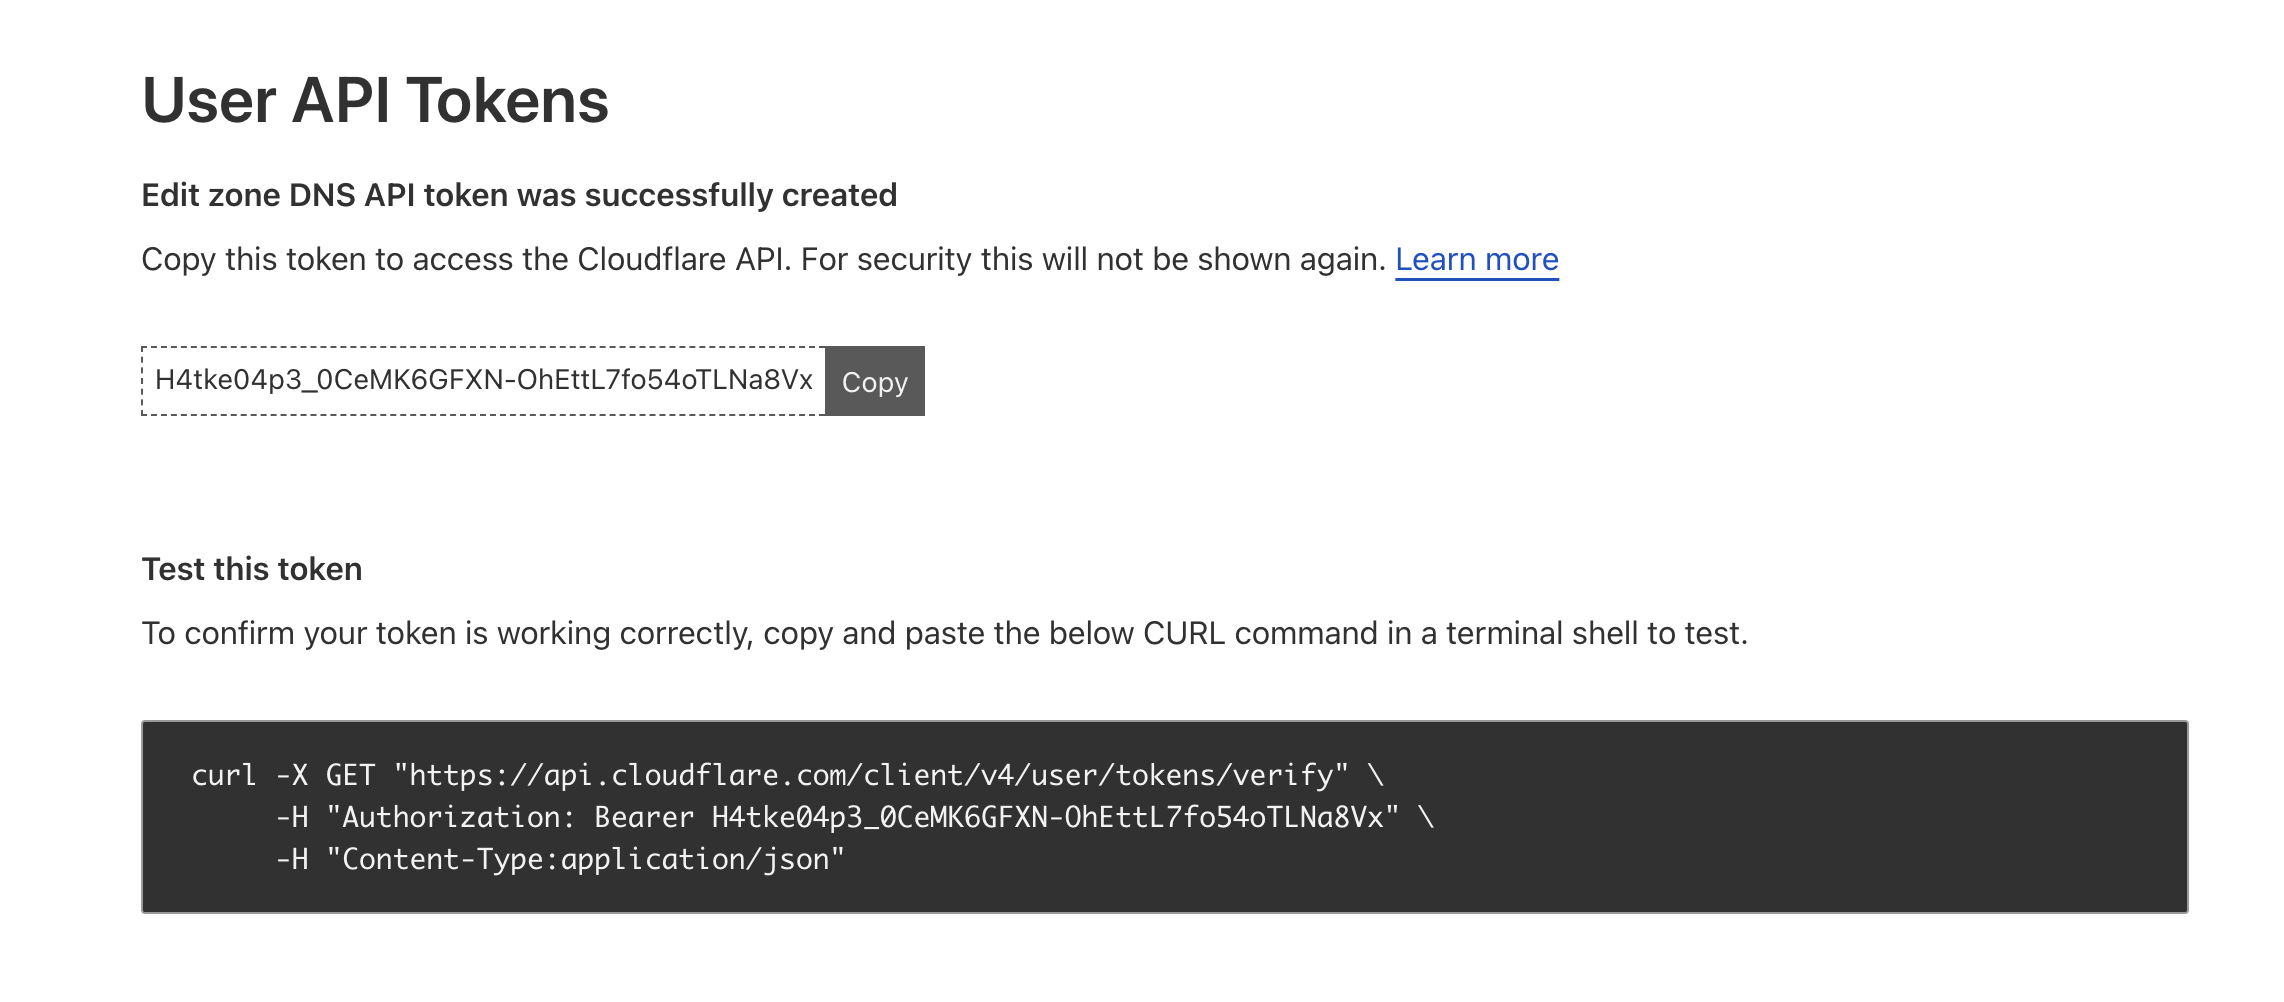
Congratulations !
|
|
欢迎复制, 但是没用系列.
add a record
add a record

欢迎打我的服务器
content

稍微解释一下这条记录.
- Type: AAAA - 表示 ipv6
- Name: example - 需要与下面 openwrt 中设置的一致
- IPv6 address: xxxx:xxxx:..:xxxx -
这条信息从 openwrt 导航栏:
Network>Interfaces中wan_6的IPv6处抄取. - Proxy status: off - 其实我不太懂, 以我的理解: 静态网页可以开, 比方说这个 blog, 其他的自己试试吧.
config on openwrt
Add new service
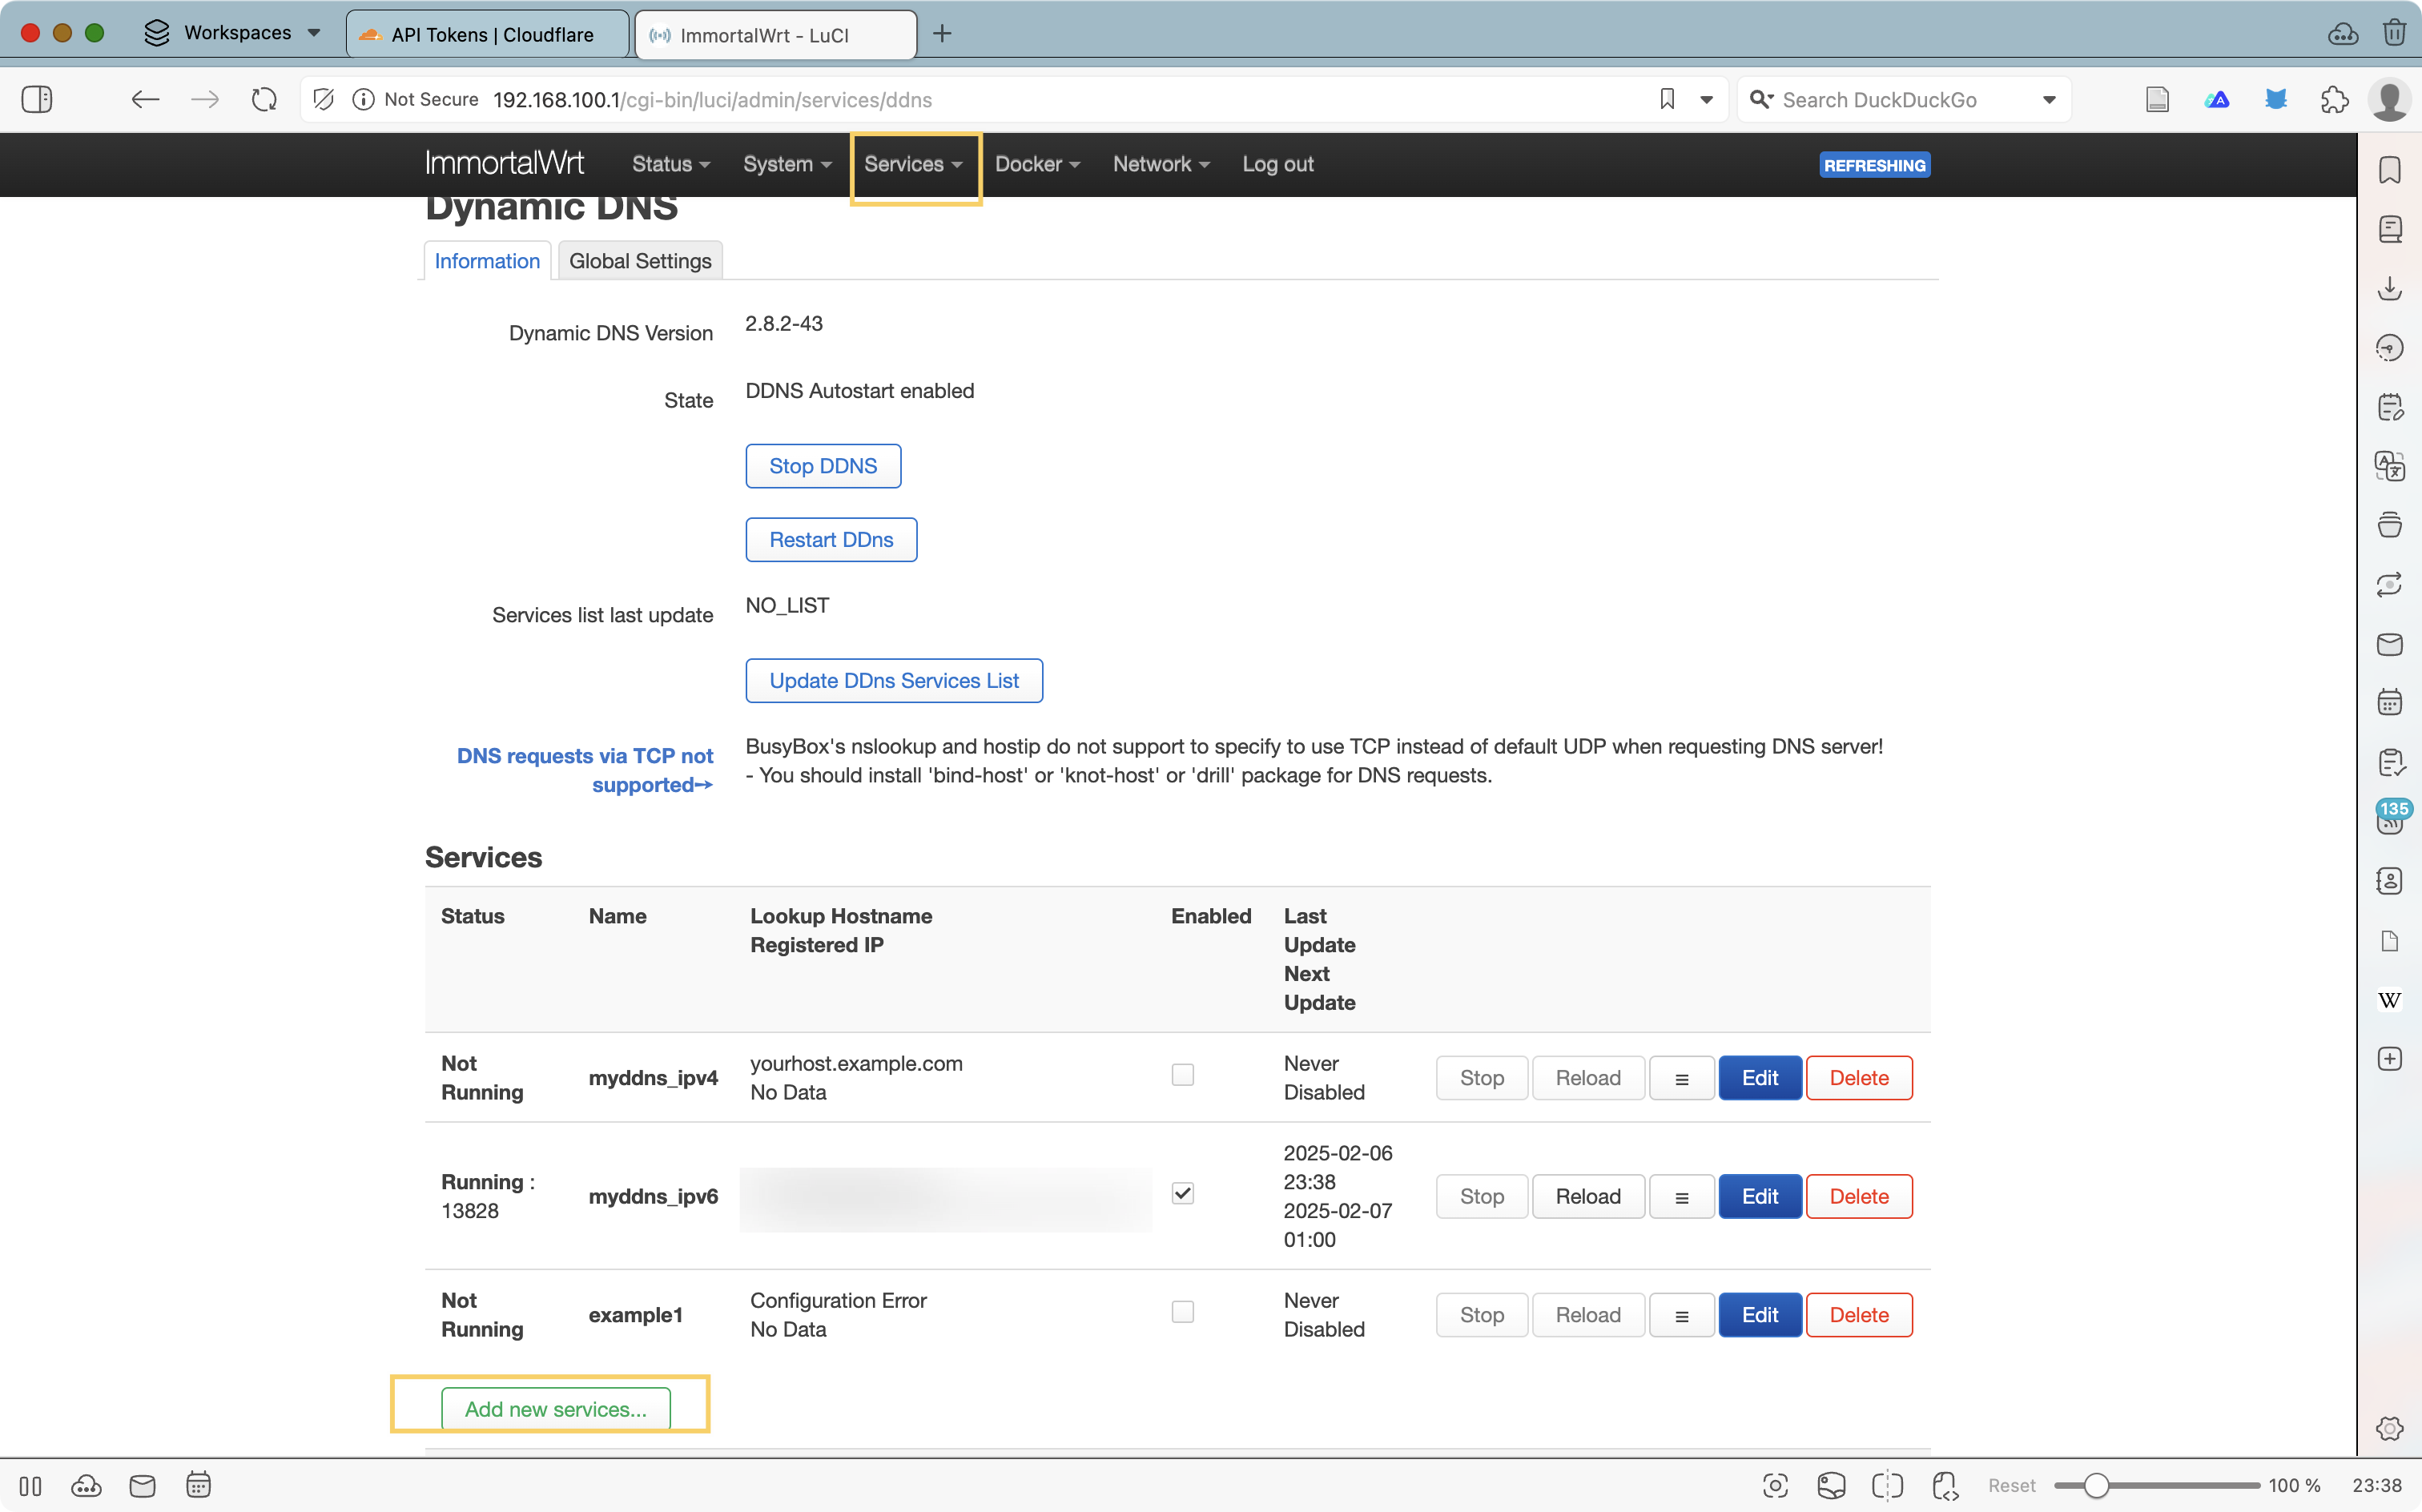
Basic Settings

稍微解释一下 username, 看上面 cloudflare 生成的这个 api token, 他的 auth 处就是 Bearer. 至于其他的, 我也是抄的, 但是吐槽一下, 有些人犹抱琵琶半遮面, 马赛克打的都不知道怎么填内容了.
Advance Settings

选择这个 wan_6, 这个应该是 pppoe 拨号成功后生成的某个接口.
当然这里其实也可以在 IP address source 里选择 interface, 然后再 network 中选择 pppoe
read / reread log file to check success

拍案: 当然, 这个 ddns 也可以使用 aliyun 的. 然后还可以使用 .cn 后缀的域名, 这样不会导致: 域名解析不到的尴尬. (本人现在已经采用了 aliyun, 2025-03-01)
windows10 reset network
以管理员身份运行 cmd
|
|
最后, 重启计算机.
from chatgpt.
wireguard
不选择 no host routing, 因为我就是希望能访问到路由器后面的设备. 后面随便配就行了
firewall
traffic rules
因为我是使用了 11451 这个端口作为 wireguard 监听的端口, 因此我需要在 firewall 中放行这个端口
Network > firewall > traffic rules
在这里添加规则, 然后记得选 ipv6 only, 这样似乎好一些.
region
给 wireguard 这个 interface 分配一个区域, 对 lan 所有都是 accept.
